Domain migration and enabling DNSSEC
I migrated my domain to iwantmyname.com and enabled DNSSEC on CloudFlare.
TL; DR
The renewal date on my .co.uk domain was nearing. I decided to make a change from 123-reg to iwantmyname. After migration, I captured the process to enable DNSSEC when using Cloudflare for DNS. For those thinking of a similar migration, I have also documented my experience of moving to iwantmyname.
.co.uk domain registrar migration to iwantmyname
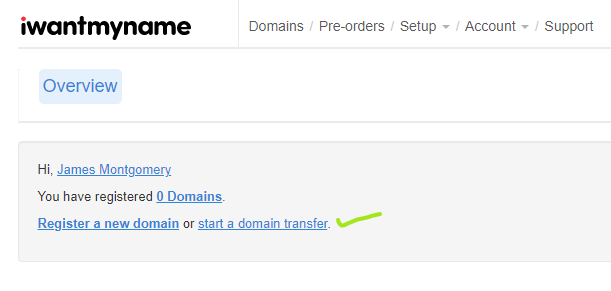
I had used iwantmyname previously and so benefitted from having an account already. After sign-in/signup the overview page has a link to allow a domain transfer to start:
After choosing your domain, a prompt appears to complete the order process.
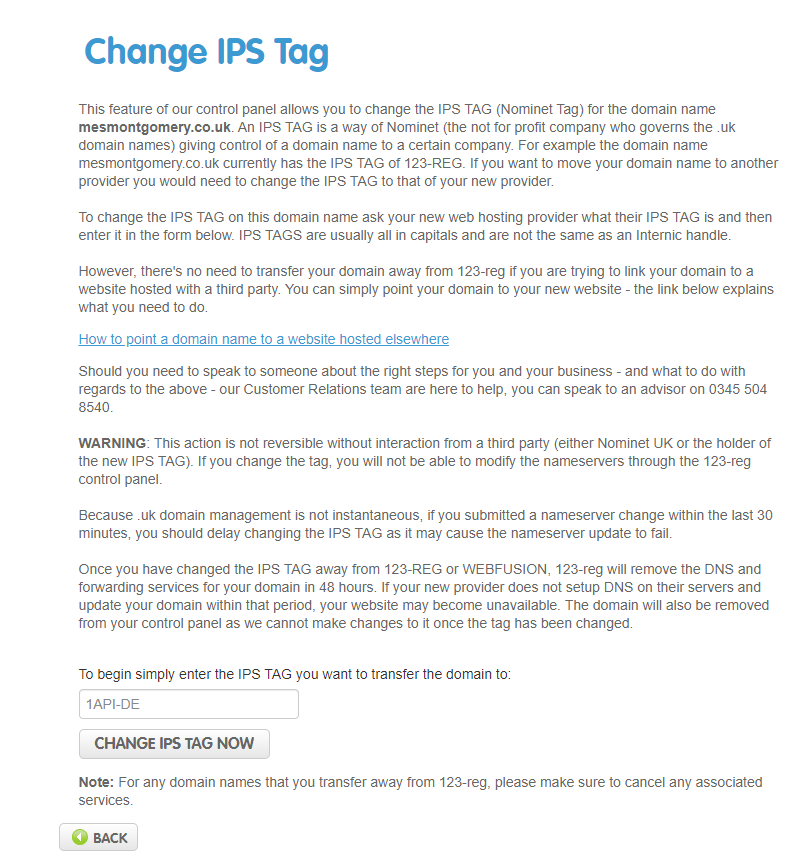
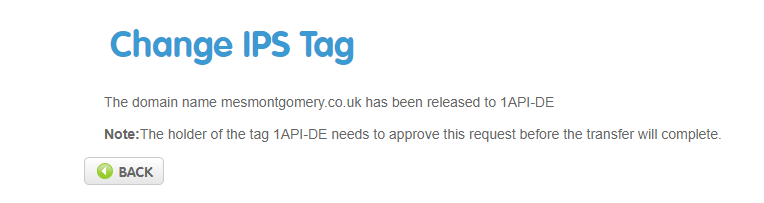
Once completed, change your IPS tag (to 1API-DE) for your domain with your previous registrar to allow the transfer.
123-reg change tag screen:
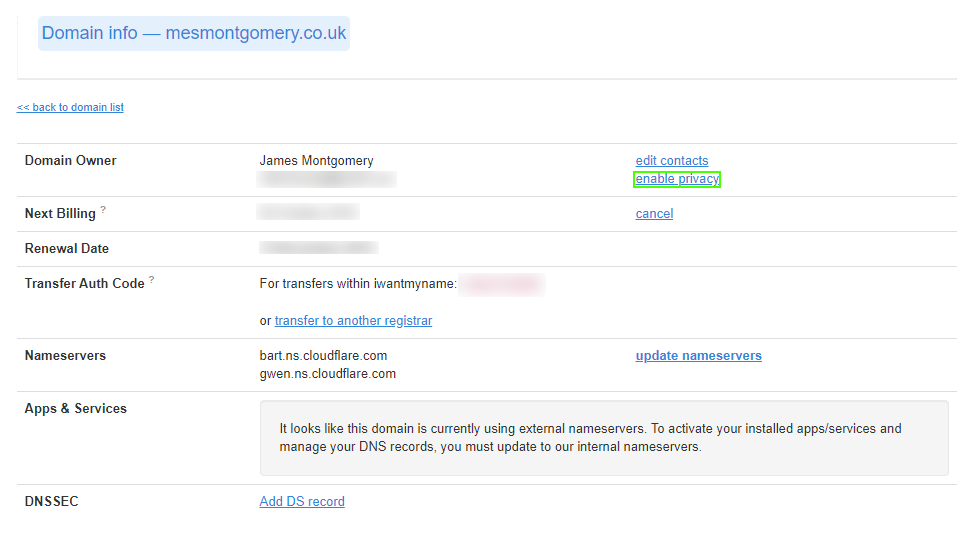
I did not want my nameserver configuration to change with the registrar migration. I was pleased to find out iwantmyname would leave the configured nameservers in place after migration.
The domain migrated within minutes. If you take other services with your original registrar associated with your domain subscription, consider additional planning before enabling the transfer.
Examples might include website hosting and DNS with the previous supplier. In my case, this was a pure registrar migration as Cloudflare provided DNS and Google/Amazon provided my website hosting.
WHOIS privacy service
If you want to avail of the privacy service, and your domain registration was before February 2017 as mine was, you need to enable privacy on your domain. There was no charge for this service.
DNSSEC
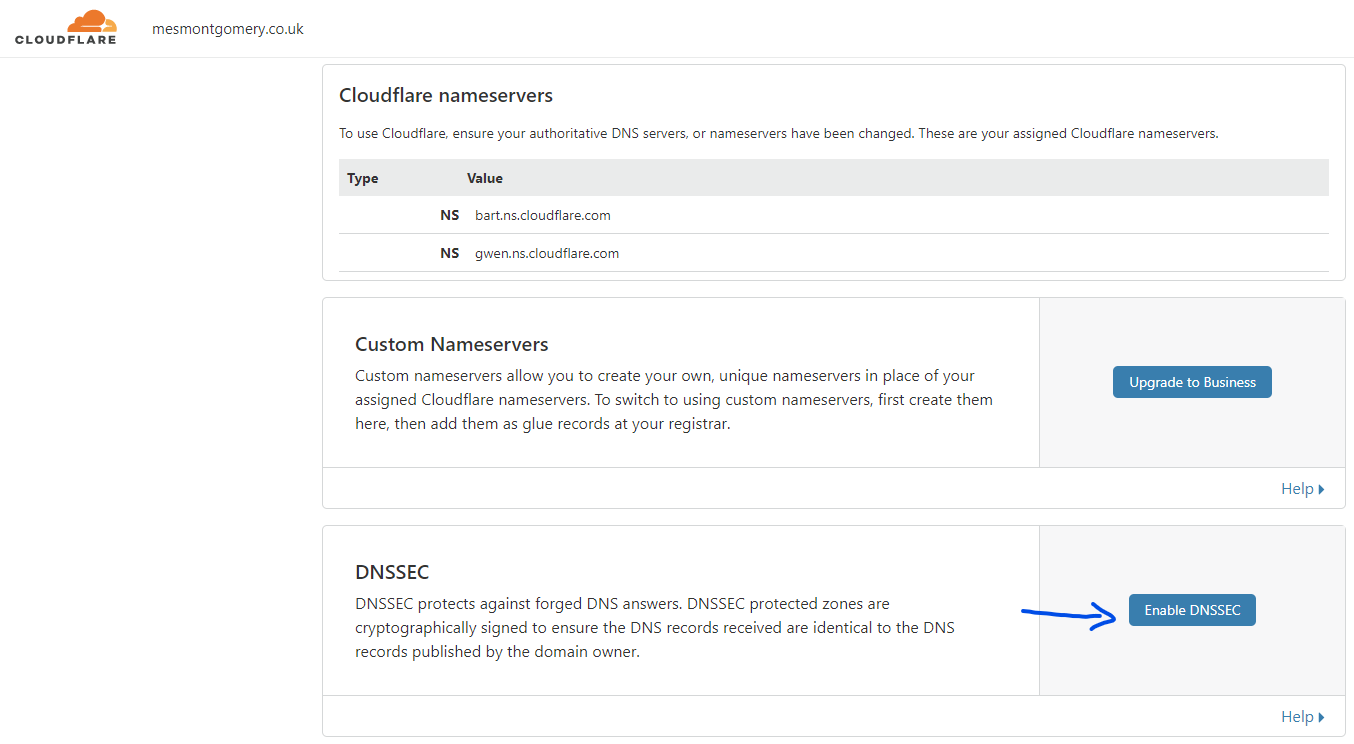
Enabling DNSSEC is a two-step process with Cloudflare and iwantmyname.
- Enable Cloudflare DNSSEC observing the DS record information displayed
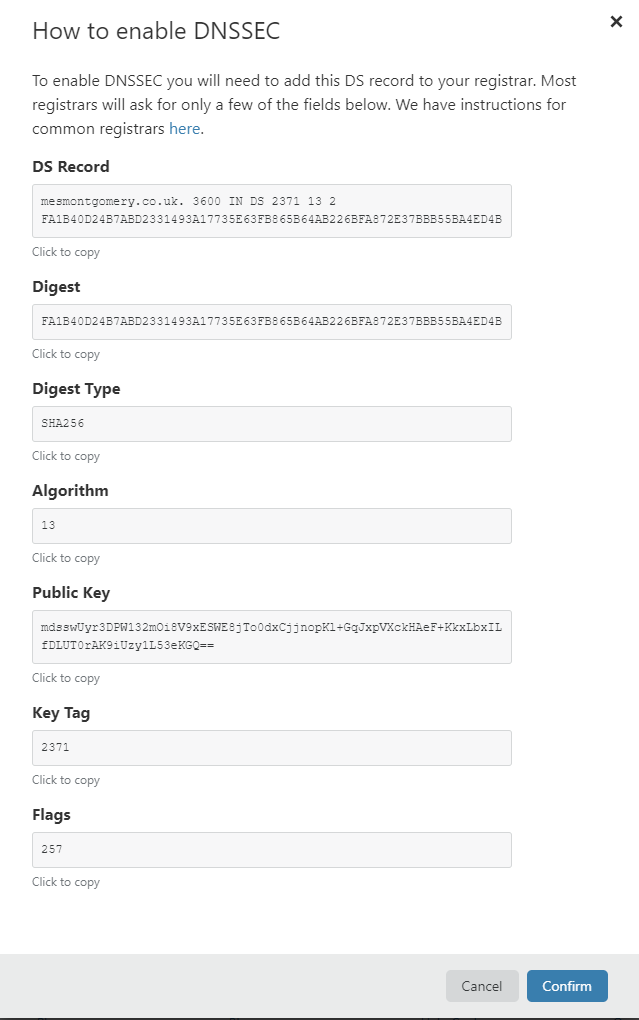
- Use the iwantmyname control panel to edit the DS record with the details provided in the following format:
[key tag] [algorithm] [digest type] [digest]
This equates to: 2371 13 2 FA1B40D24B7ABD2331493A17735E63FB865B64AB226BFA872E37BBB55BA4ED4B
Digest type was the only value to give me pause. Per Cloudflare’s documentation, this translates into “2” for a DS record.

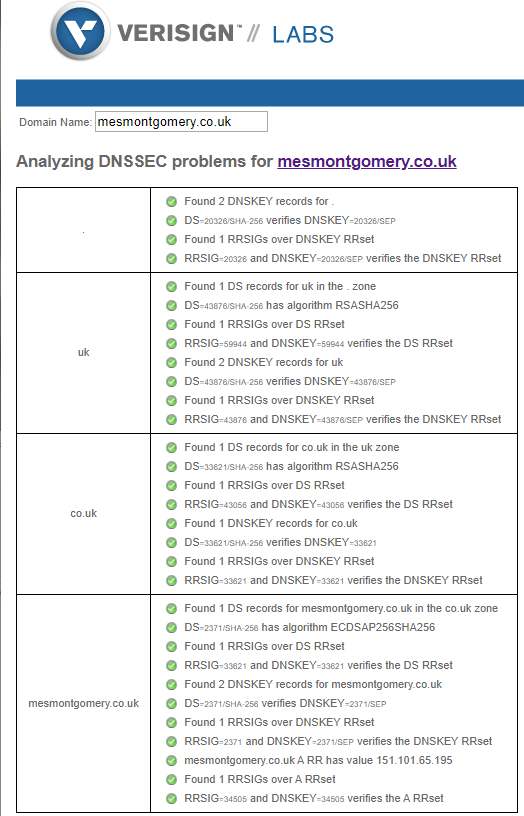
After setup is confirmed, you can use the following tools to visualise the configuration:
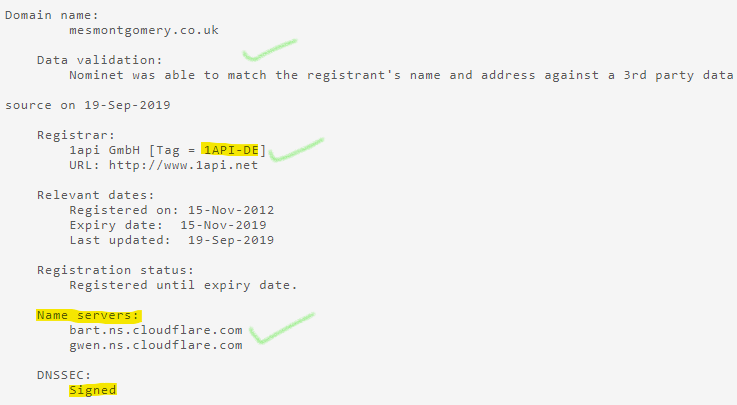
Reviewing your WHOIS record
After a domain change, it is good practice to review your WHOIS record to confirm that the intended changes were successful and as expected.
Conclusion
Initially, I wasn’t going to write this up. Then I observed this tweet:
Hot take: reason there isn’t a lot of beginner content out there is because everyone is trying to be impressive rather than helpful. Don't @ me
— dani traphagen 🎆 (@dtrapezoid) September 10, 2019
Everyone does something for the first time or seeks reassurance through research of other people’s experience. If this helped you in any way, then I’m glad.
Share this post